
by Vanessa at Henna Sooq | Dec 16, 2014 | Caring For Your Hair: The Henna Way, DIY Ayurvedic Hair & Beauty Care Recipes, Free Henna Resources, Henna for Hair |
Henna and Indigo are natural dyes which are great natural alternatives to commercial hair colour. With each application, henna becomes more difficult to remove. Can henna and indigo be removed from the hair naturally and safely? This question appears on the forums often, and one often replies with “You don’t date henna, you marry it”. How true is this statement? Now, to see just how true this statement is, let’s have a closer took at how henna works to colour your hair. It is a common misconception that henna only coats the outside of the hair. Yes, henna does cover the outside of the hair somewhat, but the resins (which are temporary) are responsible for this. What truly happens is the dye within henna, the lawsone molecules, actually penetrate the hair shaft and attach to the keratin (hair protein) within over time. So, the more one applies henna to their hair, the more lawsone gets attached to the keratin within which in turn strengthens the hair. This is how henna builds up and gets darker and more prominent over time. This is why those that have bleach damage may get poor coverage, as bleach can actually diminish or break the keratin bonds within the hair which give the henna a poor base to work with. For those with bleach damage, protein treatments (such as protein fillers used before dying the hair, or other protein treatments) are essential prior to hennaing to get an even ‘base’. Now, how hard is it to actually remove henna from there hair? Over the last few years, I (Vanessa) have actually experimented with various natural and a few non-natural options to see if...
Read more


by Khadija | Jul 3, 2014 | Caring For Your Hair: The Henna Way, DIY Ayurvedic Hair & Beauty Care Recipes, Featured Henna for Hair Clients |
An email we received from Malaika. Thank you for sharing your henna experiences and routine.-Khadija My Henna Experience Before henna I was struggling with keeping my hair moisturized (especially the ends) and the commercial color I had in my hair was dull looking and contributing to my dryness. My hair was just overall not in its best shape. So I did some research and found some really informative websites and blogs. So I decided to start with cassia before I took the plunge into henna.I did one cassia treatment with okay results and decided I needed to try henna. So here is my experience! My routine: I did two henna treatments back to back because I have heard the more you do it, the more you see the results so I wanted to jump start the effects of henna. I will continue to do henna treatments every week for the next month and then slow down to about once or twice a month. My mix: 100-150g of Jamila Henna 4 bags of green tea (bring the water to right before a boil and brew about 1.5-2 cups of green tea) While the tea is cooling I put my henna powder in a plastic bowl. I begin pouring my tea into the henna powder slowly until I get something like a mashed potato consistency. I then put on the lid of the container and hop in the shower to wash my hair. * I don’t let my henna sit for hours because I can see the dye release while I’m mixing and the heat from my head and my heating cap...
Read more

by Khadija | Jun 25, 2014 | Caring For Your Hair: The Henna Way, DIY Ayurvedic Hair & Beauty Care Recipes, Growing Long Hair, Hair Conditioners & Oils |
Strands can sometimes use a boost to promote shine, volume, curls and healthier hair. Dry hair can look limp, and this causes breakage. We want to focus on growth, and moisturizing treatments. You’ll love this recipe: (recipe can yield enough for shoulder length hair. Add more as needed) Using 5 tbsp of organic amla powder, place this into a bowl. Amla is a nut powder and can sometimes be hard. Adding a little bit of warm to hot water will make it more creamy Add 1 tbsp of organic amla oil to amla powder Add 5 tbsp of melted organic shea or organic cocoa butter, or your favorite hair conditioner to amla powder mixture Optional, add 5 drops of your favorite essential oil Mix all very well Apply onto hair, and spread evenly Cover/wrap hair Leave in hair 30-45 minutes Wash out thoroughly Dry and style as usual Do you have a favorite recipe you’d love to...
Read more
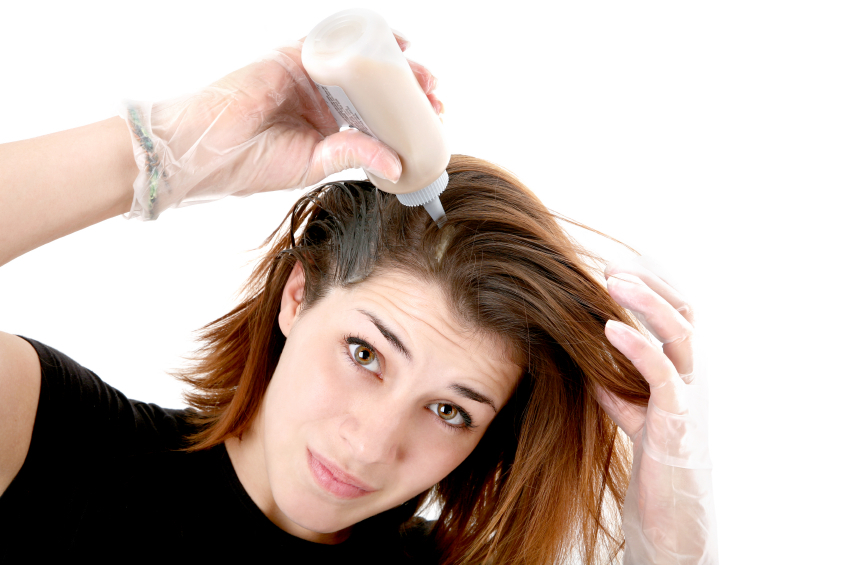
by Khadija | Mar 26, 2014 | Caring For Your Hair: The Henna Way, DIY Ayurvedic Hair & Beauty Care Recipes |
It’s hard enough trying to color your hair on your own. So a root touch up? It’s actually a lot easier then you may realize. A root touch up is basically a smaller quantity of the recipe you already use. Just create the exact same recipe, and mix it the same way you always do, just in a smaller portion of it. You’ll be making enough to be applied directly on edges and roots. What you’ll need: Small portion of your recipe. Enough for edges and root touch up (this can be anywhere from 25-50 grams or 2-4 tbsp) Hair Coloring Tool Kit. You can use the bowl, gloves, brushes and clips for easier application Bottles. We also carry 4 oz and 12 oz bottles which are great for easier application, and storage. Bottles with leftover paste can be frozen (excludes indigo paste) Carrot Bags. This are also a great tool for applying your recipe with, or just for freezer storage Read: The In’s and Out’s of Root Touch Ups Apply your recipe and leave it on for 3-4 hours. Then co-wash it out for added...
Read more


